Introduction Sensor Agent Node (SAN)
This is the Sensor Agent Node documentation! Here you will find everything you need to set-up, configure and run the Sensor Agent Node, either via cloning the source code from Git, or using a convenient Docker container.
Overview SAN
Sensor Agent Node (SAN for short) is one of the modules in IoT layer defined by OPIL architecture. It is responsible for connecting various sensors to OPIL and providing data about them to Orion Context Broker.
Figure 1: Simplified working principle of SAN
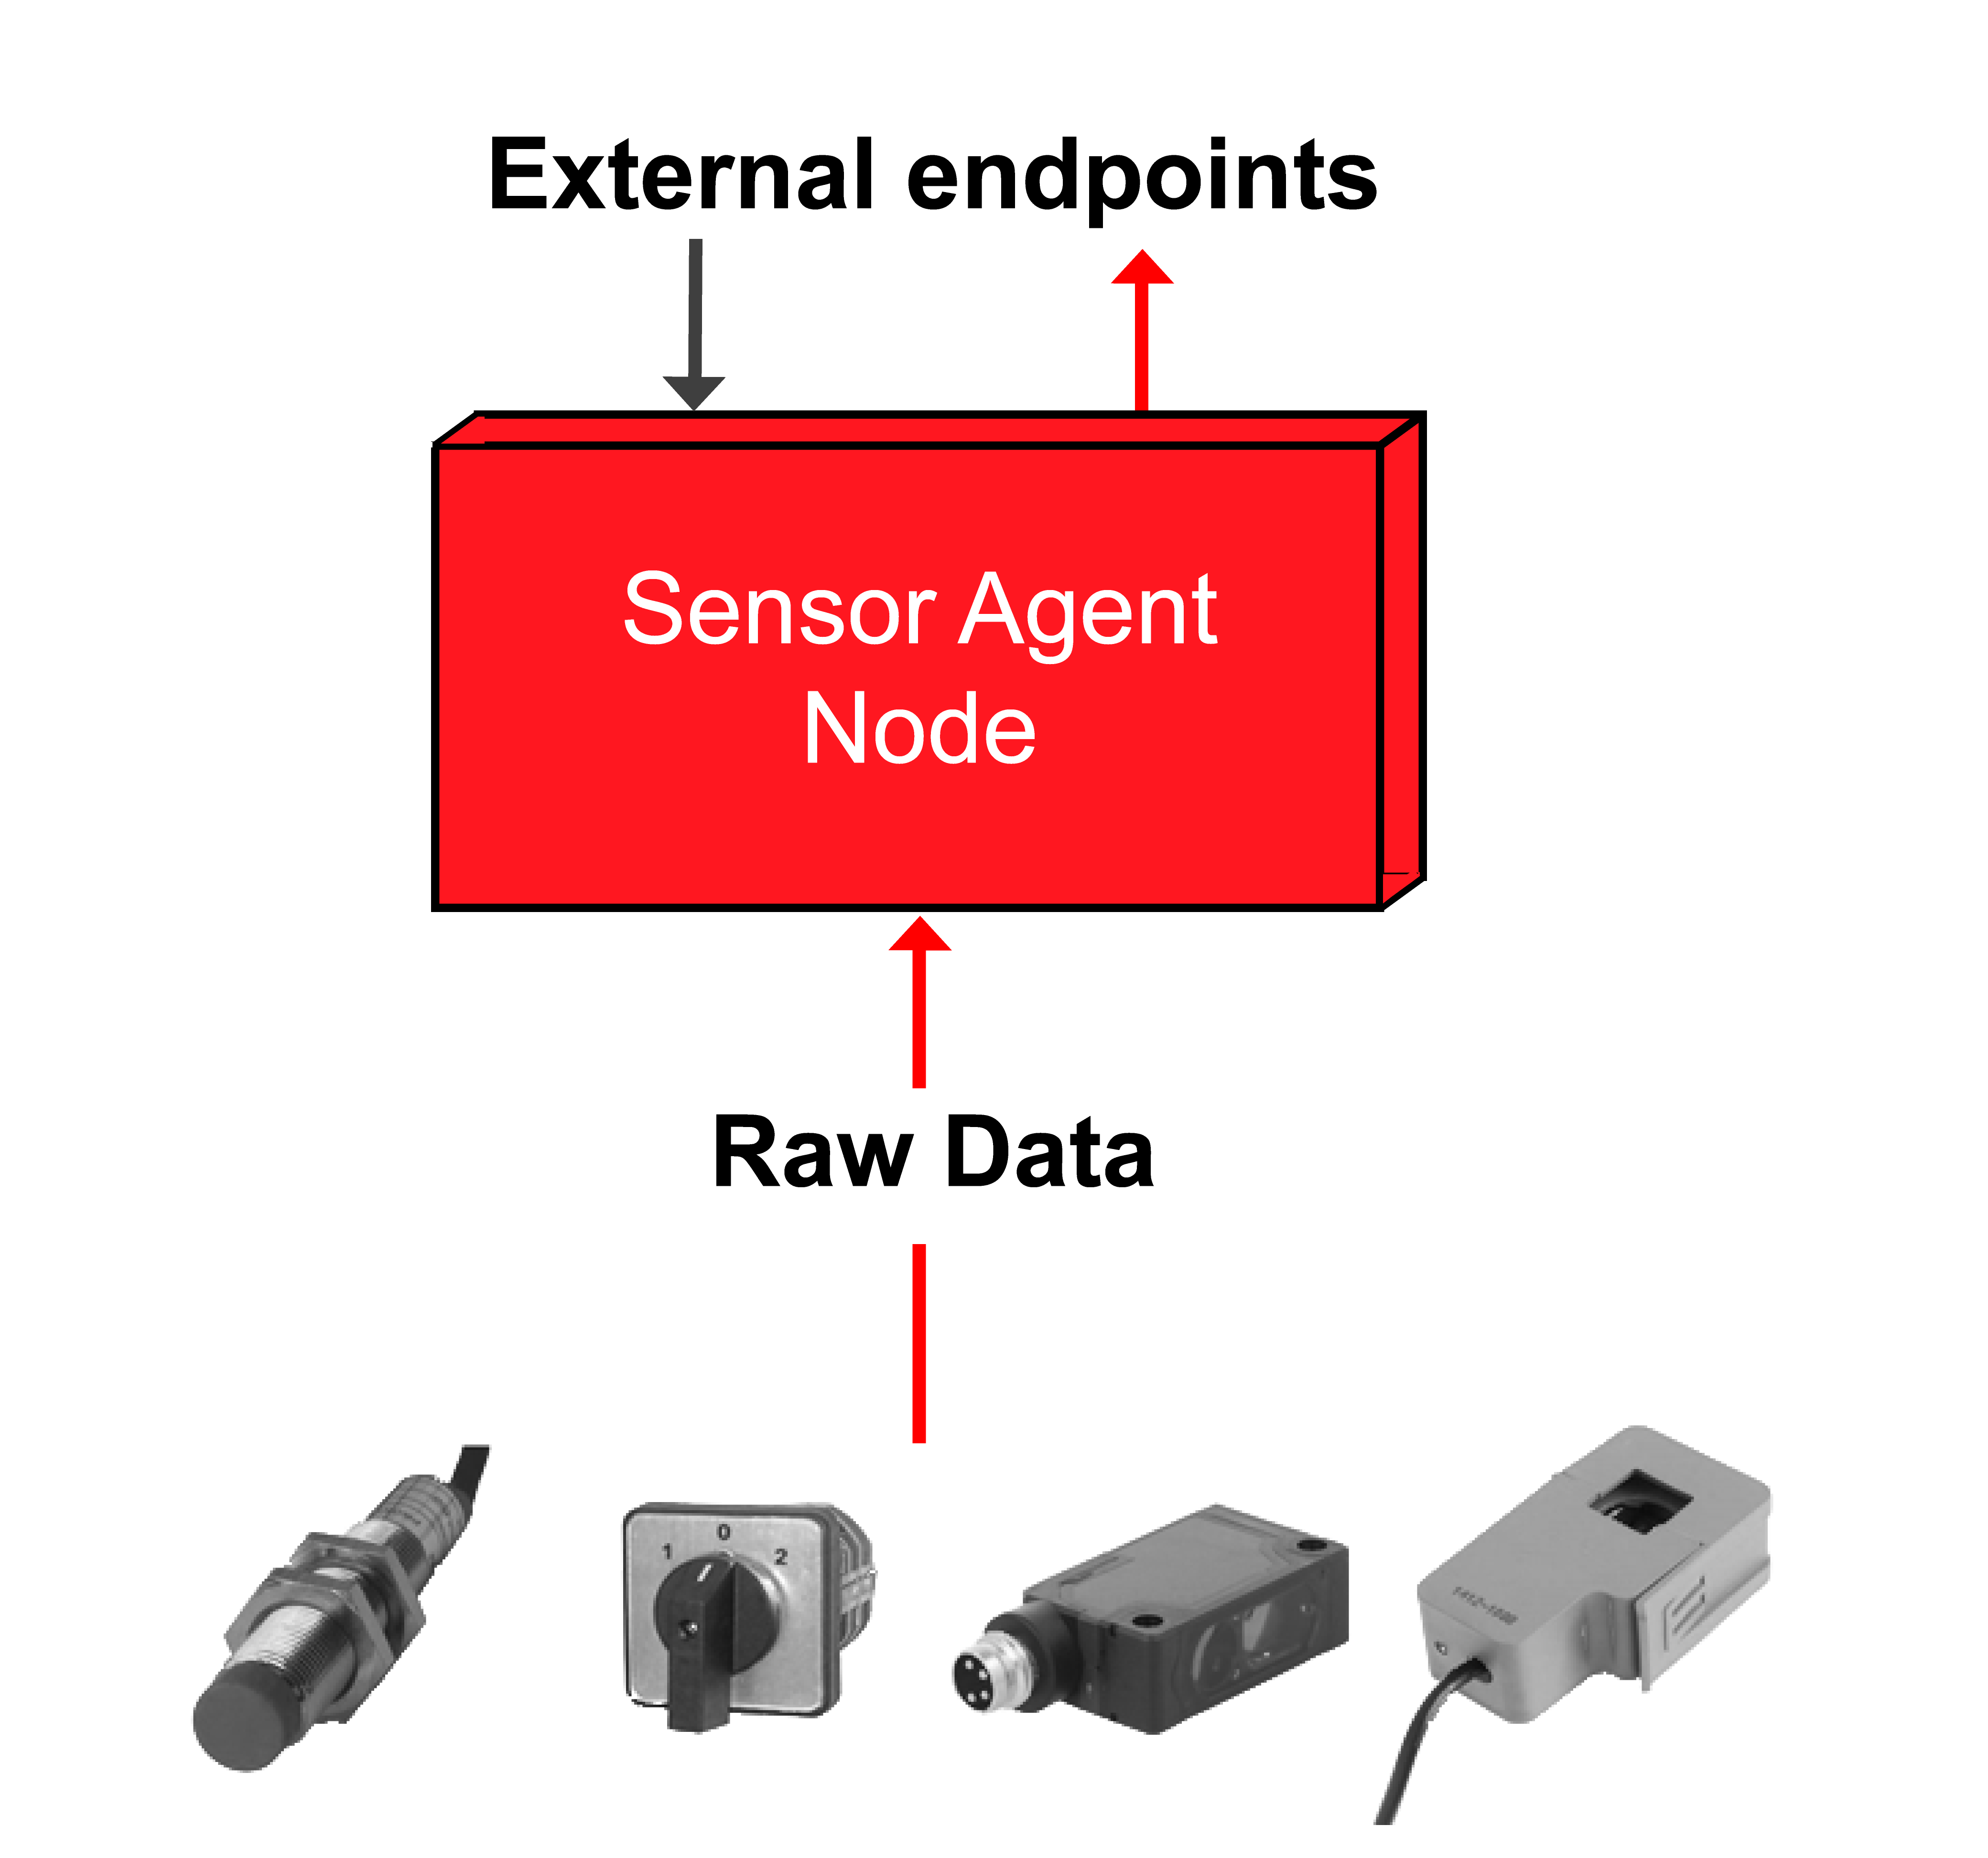
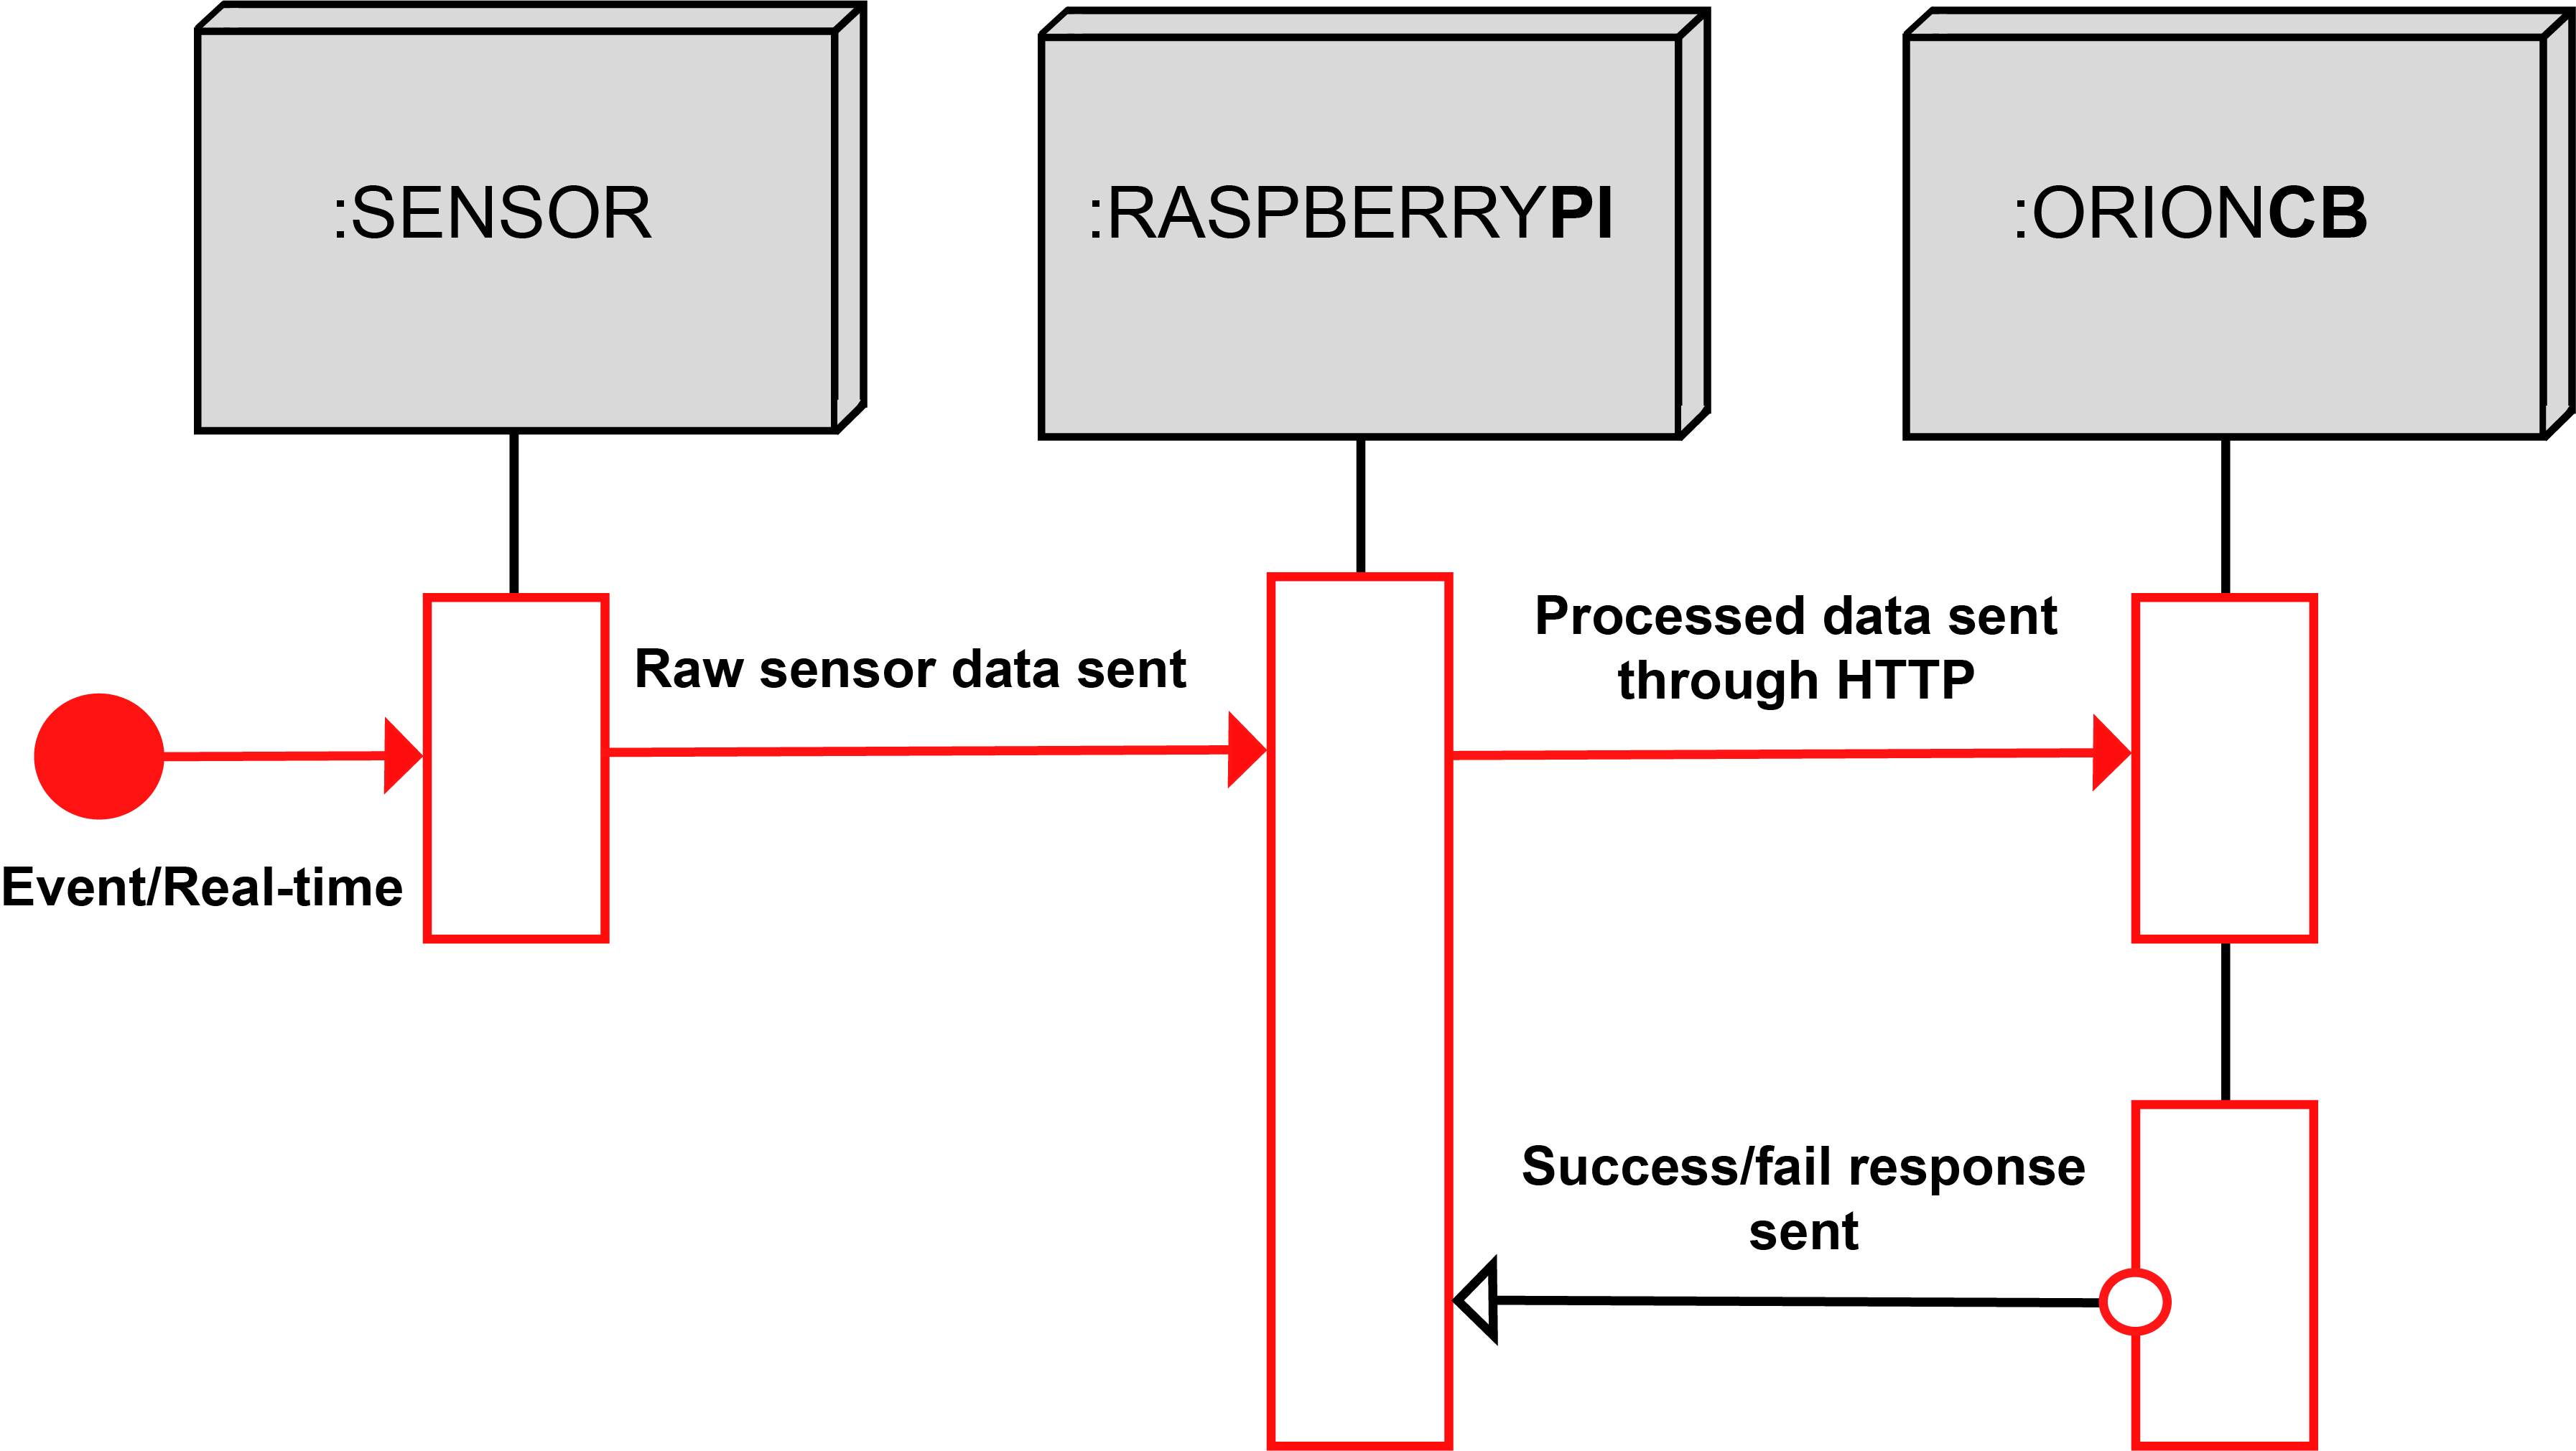
Figure 2: Sequence diagram with Raspberry Pi as an example
Before proceeding make sure you have Orion Context Broker installed and running.
If you intend to run SAN as a container, make sure you have you have Docker installed.
Current version features:
- Plug'n'play for digital sensors
- Non-complex configuration
- Automatic conversion of non-standard units(standard: meters, radians), and units with prefixes
- Data visualisation using the OPIL Human Machine Interface node
- Three configurable modes for submitting the data: event-driven, time-series, fixed-interval
- Supports Revolution Pi and Raspberry Pi devices
- Supports USB devices
Where should you start?
In order to start working with SAN you should simply follow the documentation, firstly installing the SAN code or the Docker container following Installation and configuring SAN according to Getting Started. There is also a very quick starting guide available in the Docker Hub description area. For extended information on Drivers and the Configuration File, refer to the API documentation SAN section.